






Your crossover or side-mount truck toolbox often protects thousands of dollars in diagnostic tools, impact wrenches, and specialized gear. Yet, physical keys present two constant problems:
- The Forgetting Factor: Walking away on a busy job site or gas station without turning the key leaves gear vulnerable.
- The Convenience Bottleneck: Putting down heavy equipment or digging keys out of your pocket every time you need access slows you down.
Converting a manual paddle handle or rotary latch to power locking requires a simple 12V lock actuator paired with a triggering system. Here is a breakdown of the three primary methods to automate your truck toolbox locks—from basic wiring to true hands-free proximity automation.
1. Direct-Wired to Factory Power Door Locks
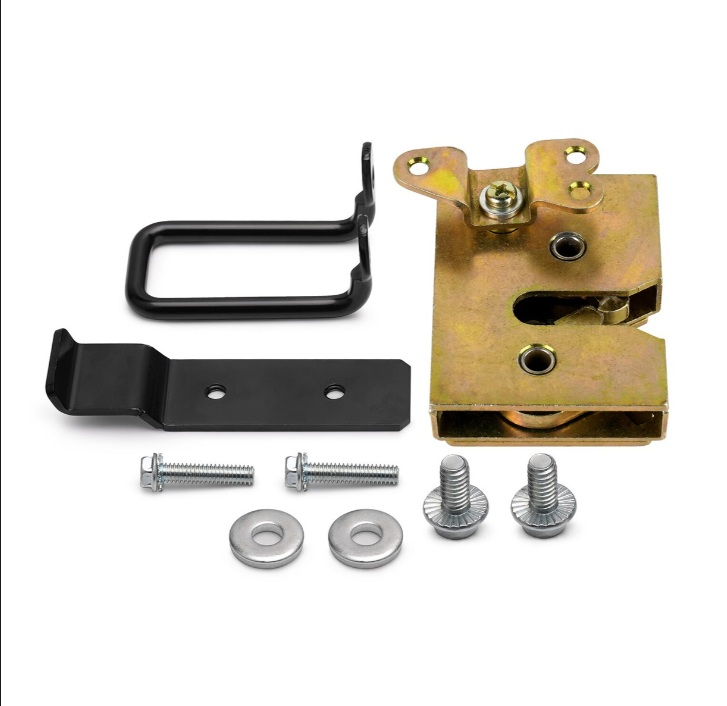
This setup integrates the toolbox directly into your truck’s existing central locking harness. When you press lock or unlock on your factory remote, the toolbox cycles simultaneously with your cab doors.
- How It Works: A standard 2-wire 12V linear actuator mounts inside the toolbox lid or inner wall. A connecting rod links the actuator’s plunger to the manual paddle lock rod or latch mechanism. The two wires (reverse-polarity lock/unlock pulses) route underneath the bed, through a weather-sealed grommet, and tie into the vehicle’s BCM or door harness lock/unlock relay lines.
- The Pros: Single factory key fob control. No extra batteries or extra remotes.
- The Challenges: Running wires cleanly into a removable bed box requires a weather-resistant quick-disconnect plug (such as a 2-pin Deutsch connector). Finding and tapping the correct factory pulse wires inside kick panels can require vehicle-specific schematics.
2. Standalone Remote-Controlled Receiver Kit
If you prefer not to tap into factory vehicle wiring harnesses or CAN-bus-managed door modules, you can install an independent 12V RF receiver module.
The Challenges: Adds another fob to your keychain. If the auxiliary remote battery dies or you leave the fob inside the cab, you are back to using physical keys.
How It Works: A 12V remote relay module is mounted inside the toolbox or under the bed rail, drawing power directly from an auxiliary 12V battery feed or fused bed power point. The module receives signals from an included standalone RF key fob.
The Pros: Zero splicing into factory door lock circuits. If the toolbox is removed, the entire system stays contained within the box.
3. Hands-Free Proximity Automation with SEER
The most secure and seamless method eliminates manual buttons and extra fobs altogether by using SEER (Smart Entry & Electronic Recognition).

This is perhaps the most streamlined solution on this list. SEER is an advanced keyless entry system that can automate a lot of Instead of remembering to click a button or insert a key, SEER detects your presence using advanced encrypted RFID and LF/RF antenna zones.
Anti-Cloning Security: Unlike standard RF remotes and older rolling-code systems that can be vulnerable to code-grabbing or replay attacks, SEER utilizes military-grade high-security encryption to prevent signal hijacking.
Walk-Away Locking: As soon as you step outside the programmed perimeter (e.g., 5–15 feet away), SEER pulses the actuator to secure the toolbox and cab simultaneously. You cannot accidentally leave your tools unlocked.
Hands-Free Approach: Walk up to your bed with your hands full of materials; SEER senses your tag in your pocket and unlocks the latches automatically before you touch the handle.
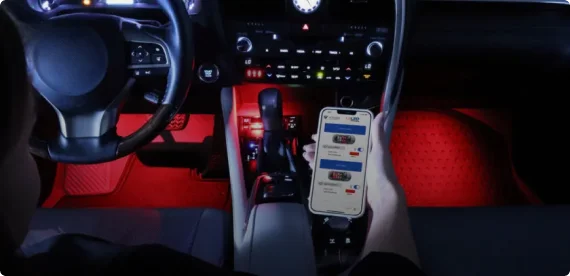
Auxiliary Output Control: Beyond locks, SEER’s configurable outputs can trigger 12V LED bed lighting or interior toolbox strip lights the moment you approach, shutting them off automatically when you depart.
Learn more about SEER today!
Implementation Checklist: Adding Power Actuators to a Toolbox
- Actuator Selection: Standard 2-wire high-torque actuators (10–15 lb pull) handle standard single-lid crossover boxes. For dual-latch boxes, use two actuators wired in parallel.
- Mechanical Linkage: Mount the actuator bracket to the internal structural rib of the box using rivets or self-tapping screws. Connect the actuator throw arm to the latch pawl using a threaded rod and lock collar.
- Weatherproof Disconnect: Install a 2-pin or 4-pin sealed quick-disconnect harness (Deutsch DT series) under the bed rail so the toolbox remains easily removable without cutting wires.
- Trigger Hookup: Connect the actuator leads to your chosen trigger—either your truck’s lock relay circuits or the dedicated pulsed outputs on the SEER ECU.
Categories: Car Accessories